
New to Your Home · Birds
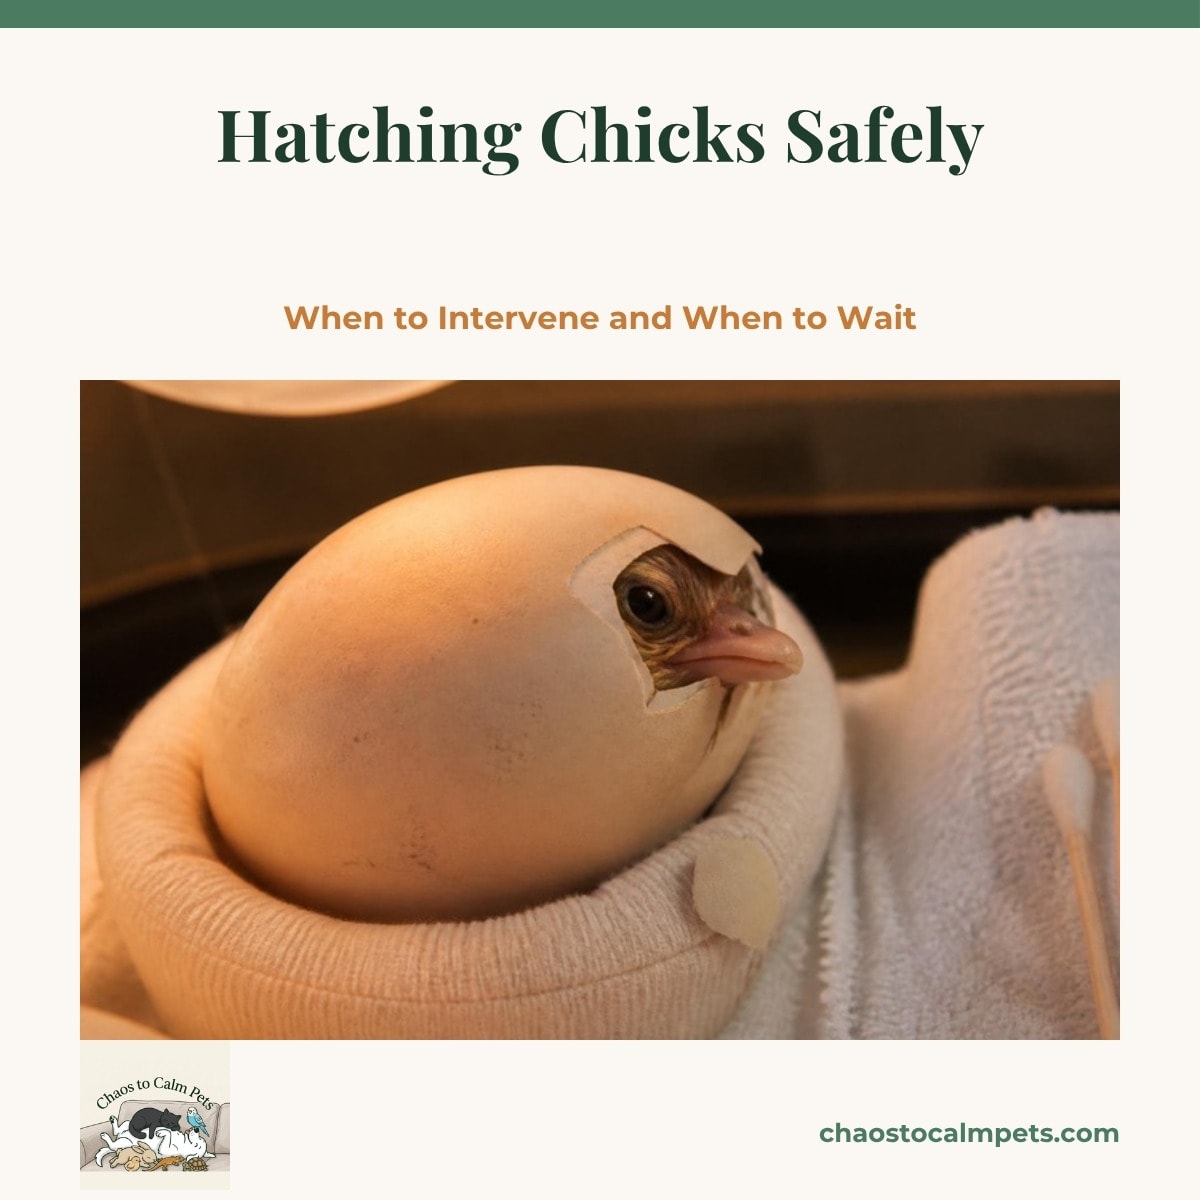
Hatching Chicks Safely
When to Intervene and When to Wait
Most chicks that need help were hurt by someone helping too soon. 10 lessons on why patience is the first rule, how to tell a normal rest from a hatch that has stalled past 48 hours, recognizing shrink-wrapped membranes, and then the hands-on care you do only with your avian vet's guidance or in a true emergency: setting up a sterile kit, making a safe air hole over the air cell, softening leathery membranes with warm saline, freeing the head, stopping cold when you see active blood vessels, protecting an unabsorbed yolk sac, and the warm, humid intensive care an assisted chick needs afterward.
About this course
This course is about restraint first and technique second. You'll start with the patience rule and why peeling a shell too early cuts into blood vessels and yolk absorption that the chick still needs. Then you'll learn the 48-hour threshold: a healthy hatch goes from external pip to emergence in 24 to 48 hours, and a stalled one shows no unzipping, fading peeps and drying membranes past that mark. Lesson 3 teaches you to recognize shrink-wrapping, the dry, brown, leathery membrane glued to a chick that can no longer turn. The next six lessons are hands-on care, each one opening with a reminder to call your avian vet or an emergency clinic first and to use these steps only with a vet's guidance or when no vet can be reached in time. You'll assemble a sterile kit, flake a tiny relief hole over the air cell where there are no major vessels, soften membranes with warm sterile saline, chip away the cap and clear the bill and nostrils, stop the moment you see bright red vessels and wait four to six hours, and protect an unabsorbed yolk sac in a humid cup. The last lesson is the warm, humid intensive care an assisted chick needs for its first day.
What you'll learn
- Why premature help causes bleeding and interrupts yolk absorption, and how disciplined observation looks
- The 24 to 48 hour pip-to-emergence window, and the red flags of a stalled hatch
- Recognizing shrink-wrapped membranes, and assembling a sterile kit before touching a distressed egg
- Making a relief hole over the air cell, and softening leathery membranes with warm saline
- Chipping away the cap, clearing the bill and nostrils, and stopping at active blood vessels
- Protecting an unabsorbed yolk sac in a humid cup, and intensive care afterward
Who this is for
Breeders watching a pipped egg that has gone quiet for a day and a half, keepers who lost a chick to shrink-wrap and want to be ready next time, and anyone whose avian vet has walked them through an assisted hatch and wants the steps written down.
Course outline (10 modules)
Quiz & Certificate
Knowledge quiz
After completing all lessons, take a short quiz to test your understanding.
Go to quiz →Completion certificate
Pass the quiz and earn a shareable certificate of completion.
View certificate →Frequently asked questions
Ready to get started?
$9.99 · Lifetime access · 10 lessons